In the realm of audio production, studio monitors play a pivotal role in delivering accurate and faithful sound reproduction. However, their performance is heavily influenced by two crucial factors: room acoustics and the strategic positioning of the monitors themselves. In this comprehensive blog post, we will delve into the intricate relationship between studio monitors, room acoustics, and optimal positioning, exploring the impact these elements have on achieving the best possible audio experience. Let’s embark on this mind-boggling but enlightening journey!
Understanding Studio Monitors: Your Sonic Gatekeepers
Studio monitors, often referred to as reference monitors, are purpose-built speakers designed to provide a neutral and unadulterated representation of audio. They serve as the reliable guardians of sound quality during the production process, ensuring accurate monitoring and critical decision-making. When selecting studio monitors, it is essential to consider their type, features, and most importantly, their frequency response and transparency.
How Studio Monitors Work
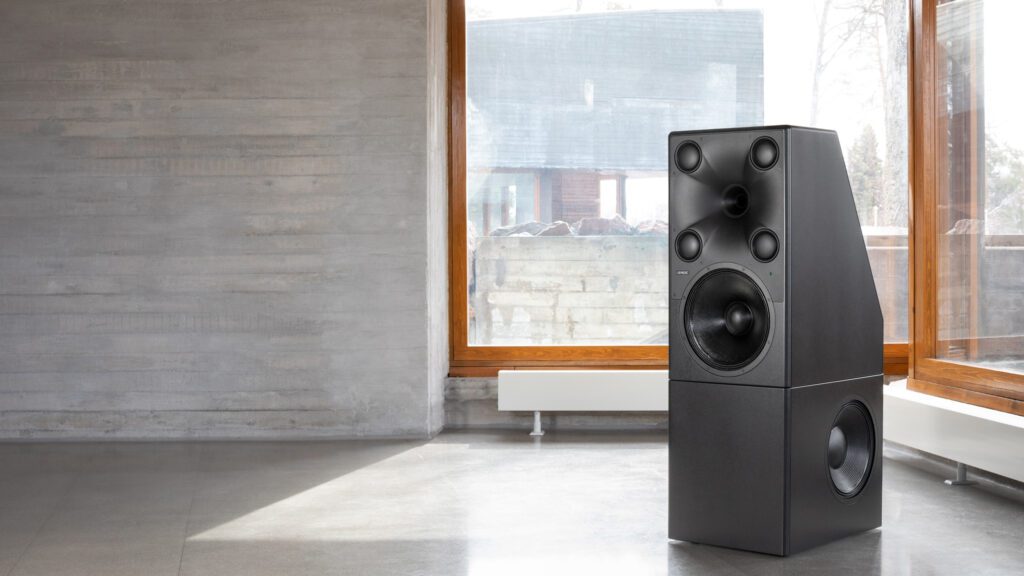
Studio monitors are meticulously engineered to reproduce sound with a high level of accuracy and transparency. Unlike consumer speakers that often emphasize certain frequencies to enhance the listening experience, studio monitors aim to provide an uncolored and unadulterated representation of the audio being produced. They achieve this by employing advanced technologies such as balanced frequency response, precise driver placement, and optimized cabinet design. Studio monitors typically feature a two-way or three-way design, with dedicated drivers for low-frequency reproduction (woofers) and high-frequency reproduction (tweeters). This separation allows for better control and accuracy across the entire frequency spectrum. Additionally, studio monitors often have built-in amplifiers, ensuring that they receive sufficient power to accurately reproduce the audio signal.
Decisive Factors in Selecting Studio Monitors
Several factors are crucial when selecting studio monitors. One of the most important considerations is the frequency response of the monitors. A flat and extended frequency response ensures that the monitors reproduce audio accurately across the entire audible spectrum. This allows producers and engineers to make precise decisions regarding tonal balance and equalization during the mixing and mastering process. Transparency is another key factor. Studio monitors should faithfully represent the audio without adding any coloration or distortion. This transparency helps to reveal subtle details and imperfections in the audio, allowing for precise adjustments and corrections. Room acoustics also play a significant role in monitor selection. Different monitors interact differently with room reflections and resonances, so it is essential to choose monitors that work well in the specific acoustic environment. Finally, it is crucial to consider the size and power of the monitors, ensuring they are suitable for the size of the control room or studio space. Adequate monitor size and power enable accurate monitoring at different listening distances and sound pressure levels.
Decoding Room Acoustics: The Silent Player
Room acoustics, the often-overlooked player in the audio production game, exerts a considerable influence on the sound quality experienced in a studio. Understanding the significance of room acoustics is paramount, as common acoustic issues such as reverberation and standing waves can impede accurate monitoring. Identifying and addressing these problems through proper measurement and acoustic treatment is vital to achieving optimal sound reproduction.
Improving (Home) Studio Room Acoustics
Improving room acoustics in your (home) studio is crucial for achieving accurate sound reproduction. One effective approach is to incorporate bass traps, which are devices designed to reduce low-frequency resonances and standing waves. Placing bass traps in the corners of the room helps minimize excessive bass buildup and improves overall sound balance.
Addressing early reflections is essential to achieve better stereo imaging and clarity. This can be achieved through the strategic placement of absorptive materials such as acoustic panels or diffusers. Absorptive panels mitigate reflections, while diffusers scatter sound energy to create a more balanced sound environment. It is advised to have diffusers installed, primarily behind the listening position, to break up and disperse sound reflections in a controlled manner.
In addition to bass traps and diffusers, another important element in room acoustics is the use of ceiling clouds. Ceiling clouds are suspended panels or baffles that are placed horizontally on the ceiling. Their function is to absorb sound reflections that occur above the listening position, reducing the negative impact of ceiling reflections on the overall sound quality. By combining bass traps, absorption of early reflections, diffusers placed behind the listening position, and ceiling clouds, you can significantly enhance the acoustics of your (home) studio and create a more accurate listening environment.

Dealing with Oddly Shaped Rooms and Room Modes
When it comes to home studios, it’s important to acknowledge that no room is perfect. In fact, most home studios are characterized by oddly shaped spaces, such as L-shaped rooms or attics with diagonal ceilings. These irregular room shapes can introduce challenges related to room modes, standing waves, and uneven frequency response.
However, it’s important to note that these issues can be addressed with proper acoustic treatment and careful consideration of the room’s characteristics. By implementing techniques like bass traps, absorption of early reflections, and diffusion, you can mitigate the impact of room modes and create a more balanced sound environment.
Additionally, utilizing digital signal processing (DSP) monitors that adapt to the room’s acoustics can help compensate for the irregularities caused by odd room shapes. So, while dealing with room modes and odd room shapes is common in home studios, it’s reassuring to know that there are effective solutions available to improve the overall sound quality and accuracy of your listening environment.
The Art of Positioning: Unveiling the Sweet Spot
Positioning studio monitors correctly is an art form that can greatly enhance the audio experience. The ideal listening position, often referred to as the “sweet spot,” allows for an accurate and immersive sonic representation. Factors such as distance, height, angle, and stereo imaging techniques all play a vital role in creating an optimal soundstage and ensuring a faithful representation of the audio content.
Where to Position Studio Monitors
When it comes to positioning studio monitors, there are a few key considerations to keep in mind. Firstly, it’s generally recommended to place the monitors at an equal distance from each other and the listener, forming an equilateral triangle. A commonly suggested guideline is to have the monitors spaced approximately 171 cm apart, but it’s important to note that this measurement may vary depending on personal preference and the specific characteristics of the room.
It is crucial to position the studio monitors in such a way that they are centered between the left and right walls of the room. This helps to create a balanced stereo image and allows for accurate panning and localization of sound sources within the mix.
Finding the ideal sweet spot is a combination of listening and measuring. While the 171 cm guideline can serve as a starting point, it’s crucial to fine-tune the positioning based on your own ears and room acoustics. Some professional audio engineers even prefer to have the studio monitors pointing slightly behind the listening position. This technique, known as “toeing in” can create a broader sweet spot, allowing for a more immersive listening experience throughout a wider area of the room. Ultimately, finding the sweet spot that suits your individual preferences and goals may require some experimentation and adjustments to achieve the most accurate and pleasing sound reproduction.
Ideal Distances, Measurement, and Positioning Tricks
In addition to the equilateral triangle guideline, there are other distance-related considerations when positioning studio monitors. It is generally recommended to have the monitors placed at an equal distance from the front wall to avoid excessive bass buildup. Keeping the monitors at a reasonable distance from side walls can also help minimize unwanted reflections and phase cancellations.
When it comes to height, aligning the tweeters of the studio monitors with the listener’s ear level is often recommended for optimal stereo imaging and tonal accuracy. To achieve this, monitor stands or adjustable mounting solutions can be utilized.
To further enhance the positioning of studio monitors, there are some useful tricks to consider. Placing acoustic panels on the side walls behind the monitors can help control early reflections and improve the stereo image. Additionally, using a reflection filter or absorptive material behind the monitors can minimize reflections from the rear wall.
Remember, while guidelines and measurements can provide a starting point, the final positioning should be based on your personal preferences and the unique characteristics of your listening environment. Regularly listening and making small adjustments can lead to finding the perfect sweet spot that allows for an immersive and accurate audio experience in your (home) studio. Even moving an inch can make a big difference, hence the complex but rewarding journey towards (as) perfect audio (as it gets).
No Room is Perfect: Real-Life Challenges and Solutions
Even in professional studios, acoustic challenges can arise despite their best efforts. For example, some studios invest in high-quality studio monitors but still face persistent issues with room modes and dips. In these cases, creative solutions are often required. Some studios have taken the bold step of rebuilding sections of their studio walls or even the entire studio, completely transforming the room’s acoustics. This serves as a testament to the understanding that no room is perfect and that overcoming acoustic obstacles requires determination and innovation.
Conversely, there are studio rooms that may not appear acoustically ideal but produce remarkably flat and accurate sound. DIY solutions can sometimes work wonders in transforming oddly shaped rooms into meccas of immersive sound production. However, even with these solutions, meticulous measurement and persistent adjustments are key to achieving the desired results.
In the pursuit of optimal sound, some studios have embraced innovation by incorporating unconventional materials. For instance, one studio successfully improved its acoustics by using diffusers made from recycled vinyl records. This not only enhanced the room’s sound characteristics but also added an aesthetically pleasing touch to the overall studio ambiance. These examples highlight the importance of thinking outside the box and exploring unique approaches to address acoustic challenges in the pursuit of creating the best possible listening environment

Embracing the Power of DSP Monitors
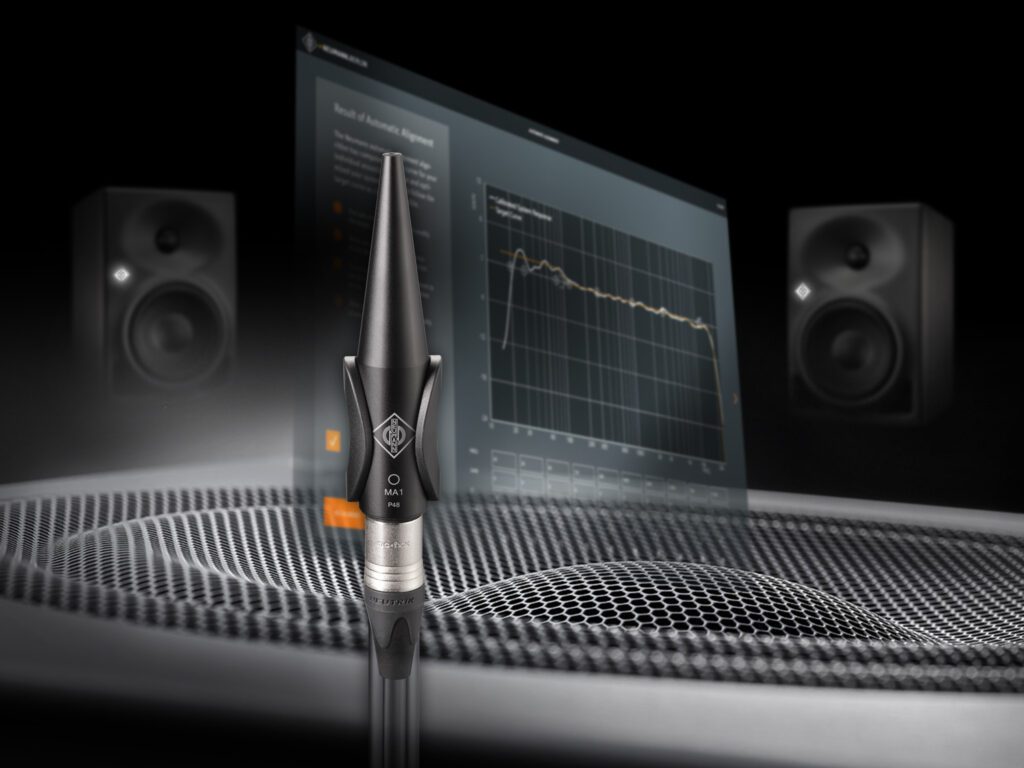
The emergence of Digital Signal Processing (DSP) monitors has revolutionized the audio monitoring landscape. Neumann DSP monitors, combined with the MA-1 measurement software and microphone, offer advanced technology that provides insights into how your studio monitors and room interact. The software’s comprehensive analysis assists in optimizing room acoustics and speaker positioning, accounting for room modes and frequency response. Similarly, Genelec’s GLM system stands as one of the most advanced solutions available, providing automated calibration, room correction, and precise monitoring control. These DSP monitors empower audio professionals to achieve exceptional sound reproduction, regardless of their room’s acoustic characteristics.
The symbiotic relationship between studio monitors, room acoustics, and strategic positioning significantly influences the audio quality within a recording studio. By comprehending the nuances of each element and their interconnected nature, one can achieve accurate and reliable sound reproduction. Whether it involves rebuilding walls, embracing unconventional materials, or harnessing the power of DSP monitors like Neumann and Genelec, the pursuit of optimal audio quality is a continuous journey. Embrace the adventure, and witness your studio evolve into a testament of perfect harmony between studio monitors, room acoustics, and strategic positioning. Let your audio productions flourish with the symphony of sonic perfection!


